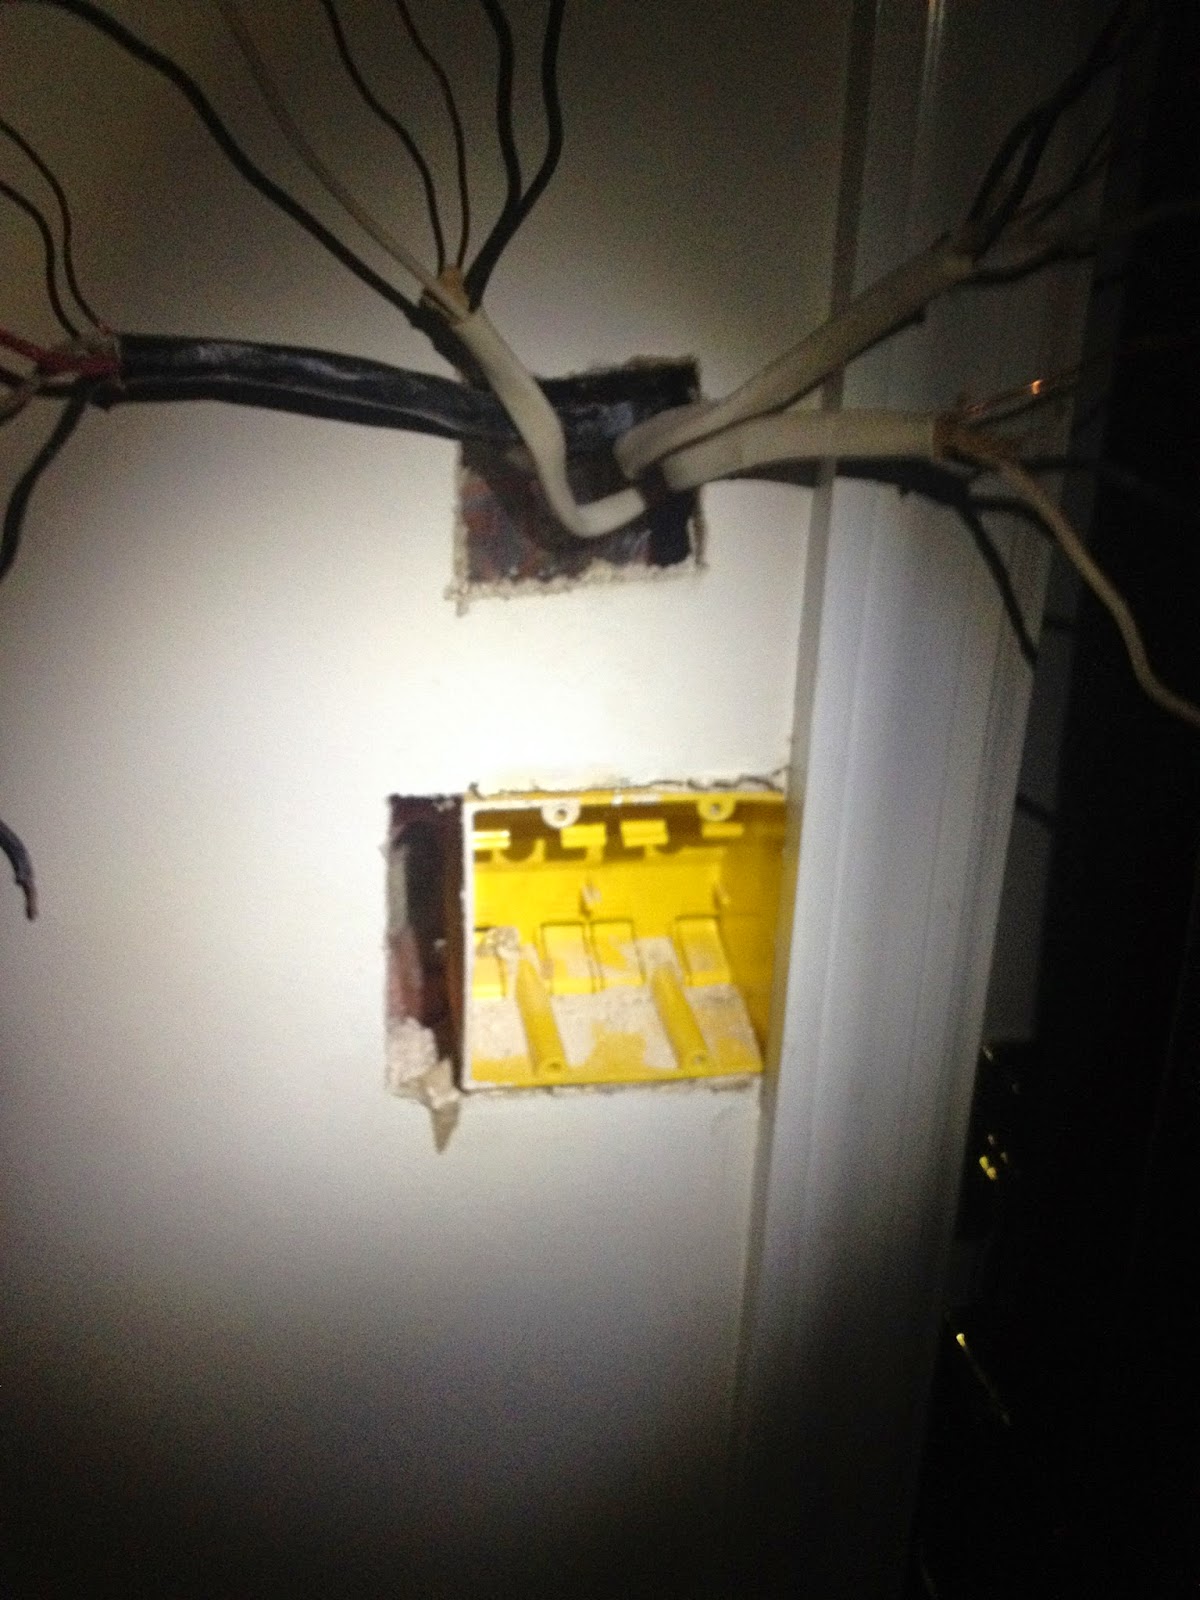
In order to do a proper looking installation, I needed to remove the old box and put in a new one with enough space to clear the trim. Step one was flipping the breaker and testing to ensure that power was indeed cut off. I recommend a non-contact tester. Next I removed the old switches, labelled the wires and photographed everything.
Since power was cut to my entire basement, I used a head-mounted flashlight which is definitely handy. Next, I cut a whole a few inches above the box to pull all of the wires through so that they were out of the way.
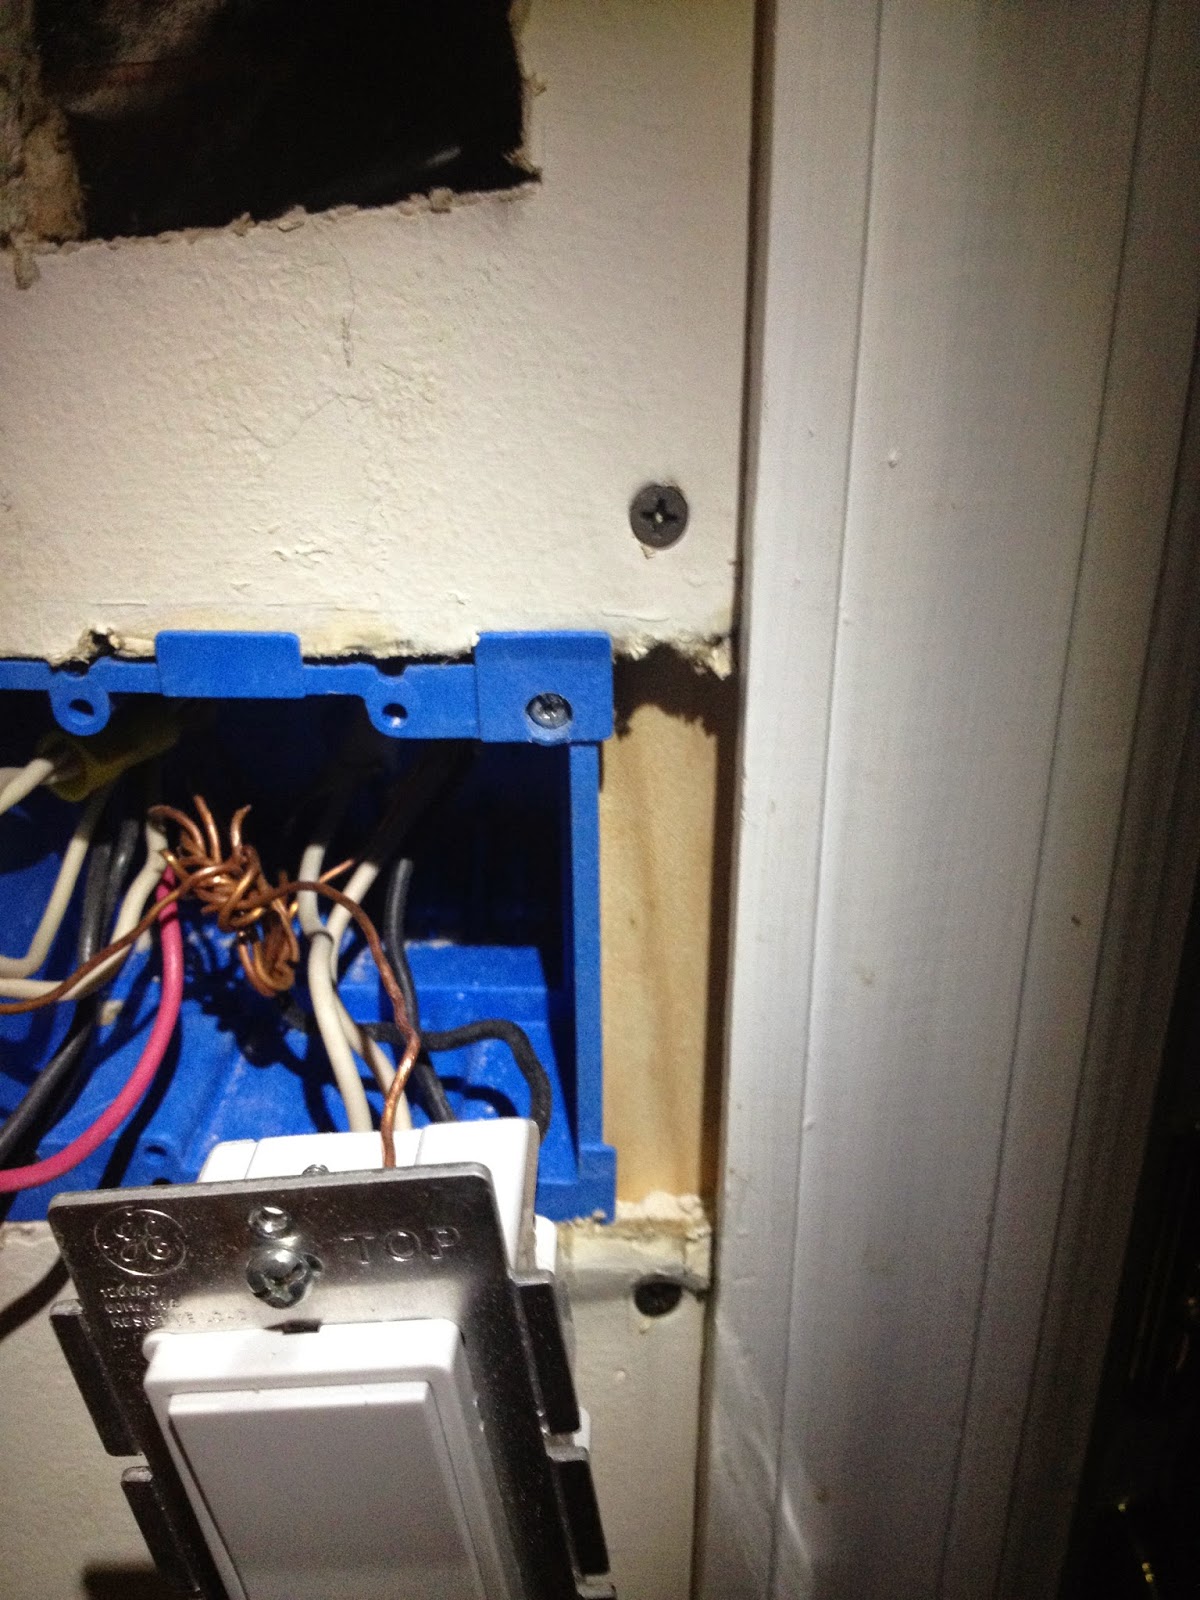
The old box took some work to get out. I ended up using my cutoff attachment to cut the nails. Thankfully, an "old work" gang box is super easy to install. Once I fed the wires back through the box, I needed to patch the space between the box and the trim. I decided to use a paint stir for support.
Using drywall screws to hold it in place, I then cut a piece of drywall to fit and reinstalled the new switches.
Next, I flipped the breaker on and tested to ensure the switches were working properly.
All that is left is to finish the job. I applied some patch material and allowed it to dry.
After a few rounds of sanding and reapplication, it was time to paint and enjoy my new SmartThings device!
A job that probably should have taken 15 minutes ended up taking a few hours. That happens from time-to-time and it certainly won't be the last time it happens to me. It was a challenge worth tackling though and I am happy with my new remotely controlled light switch.
-Chris


