Now that we have prepped everything in part 1 and got the fort constructed in part 2, we can move on to the swings and other hardware.
The Cool Wave Slide was simple to install on top of a 4x4. I used carriage bolts to mount the scrap 4x4 to the fort and then screwed the slide in on top of it.
was simple to install on top of a 4x4. I used carriage bolts to mount the scrap 4x4 to the fort and then screwed the slide in on top of it.
There are a lot of recommendations regarding the placement of swings in relation to fences. I decided to follow the 2x the length of the swing policy. This dictated where I placed the entire playground originally but I could have shortened the swing. Ultimately, the playground area is twice the length of the swing on both sides.
I mounted the swing hardware with carriage bolts through the 4x6 and attached the swings. For the cross member support, I used the steel frame
 to ensure safety.
with carriage bolts through the 4x6 and attached the swings. For the cross member support, I used the steel frame
to ensure safety.
I used my Werner ladder and Irwin clamps to hold the cross member in place after leveling.
and Irwin clamps to hold the cross member in place after leveling.
Then I could add the support 4x4s with the simple angle cut.

I wanted to hide the A-frame a bit so I used pieces of 4x4 to go under the 4x6 joist. I used foot long landscape nails to anchor the support beams into the ground.

With the swing hardware mounted, we are almost done!

I drilled a 3 inch PVC pipe to make a drain for the sandbox.
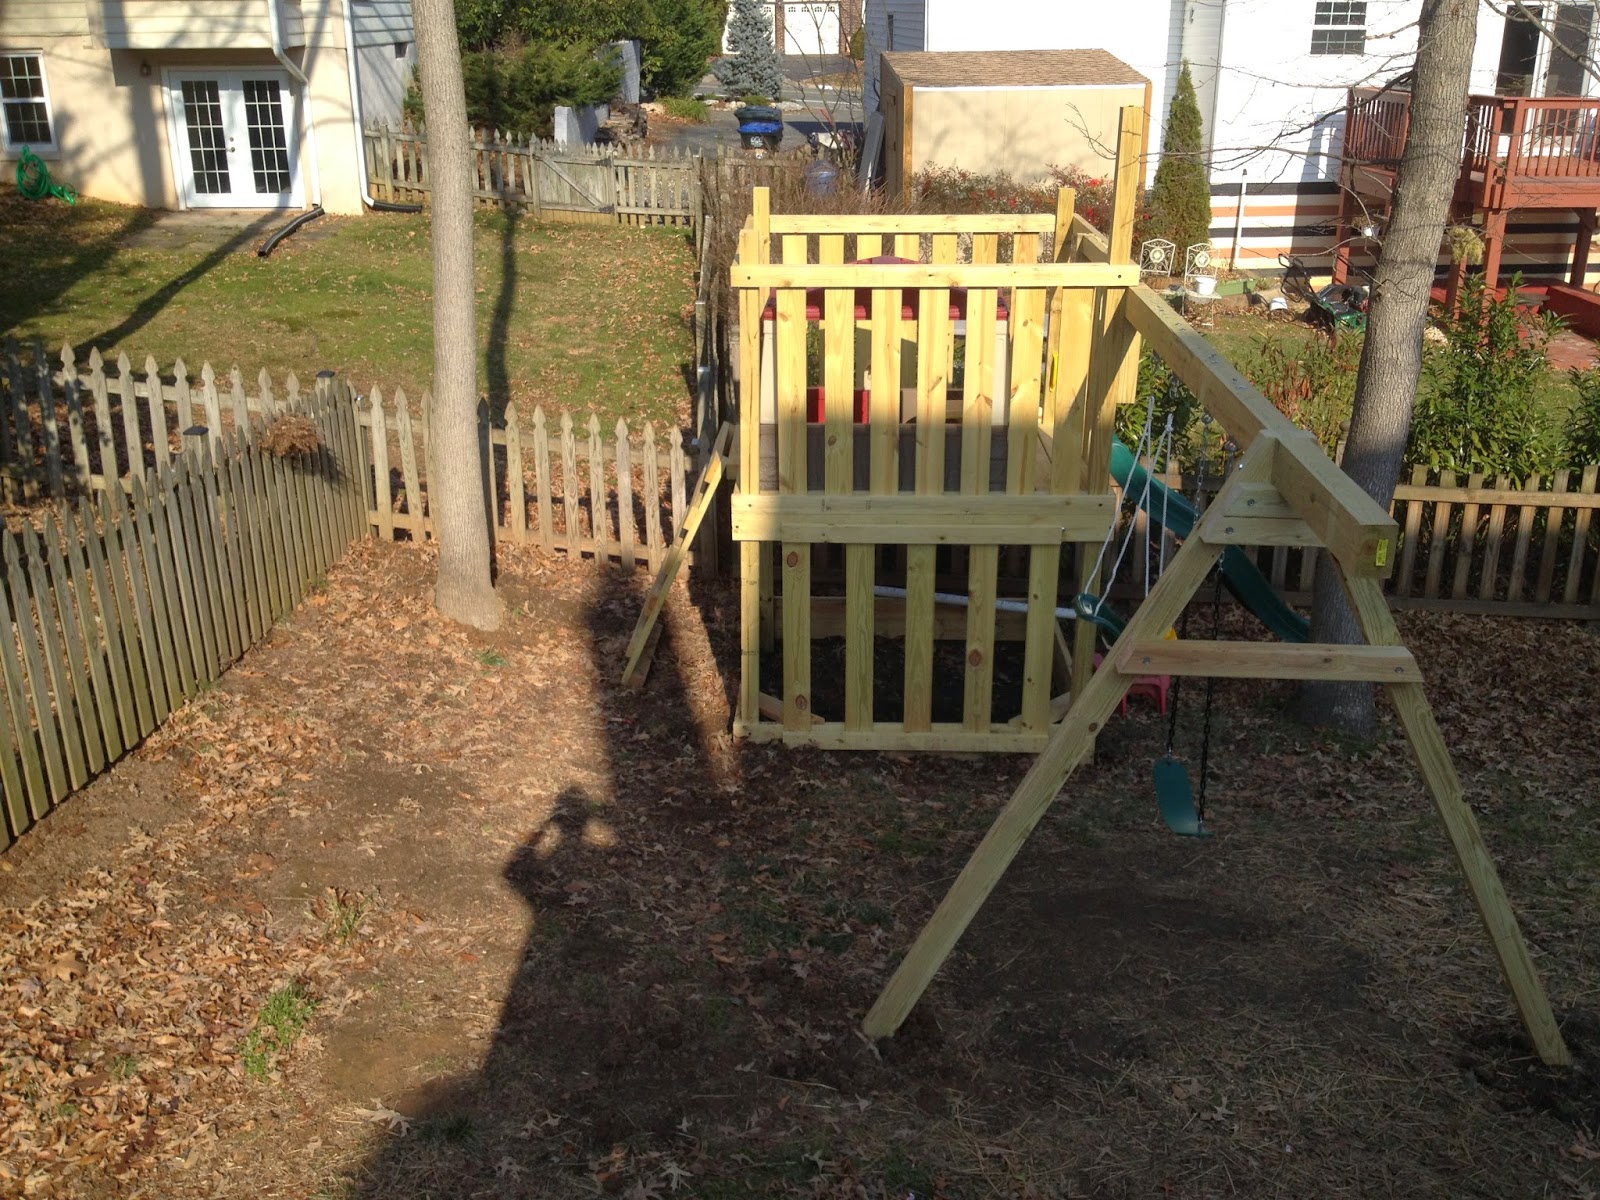
All that is left is to add sand to the sandbox and the protective support material and accessories. We will do that in the next post.
-Chris


 wishlist that we shared to family and friends with all the accessories required for the project. As the kid's birthdays and other holidays passed, we collected most of the accessories that were needed! Definitely a great idea for bigger projects, but you will have to send pictures in the thank you cards. Not a bad trade-off at all.
 in each hole with screws before the concrete dried.
 and both saws have newish
  . I also used my
  kit pretty heavily for a lot. It was a great Christmas gift and so far has stood up to some serious abuse.
 the build little braces to hold them. Once they were drilled into the base, they were surprisingly easy to work with. I used 2x6 boards to create the fascia and sandbox as pictured. I measured each run before cutting the boards to compensate for imperfections in the lumber and imprecision on my part.