Now that we have prepped everything in part 1 and got the fort constructed in part 2, we can move on to the swings and other hardware.
The Cool Wave Slide was simple to install on top of a 4x4. I used carriage bolts to mount the scrap 4x4 to the fort and then screwed the slide in on top of it.
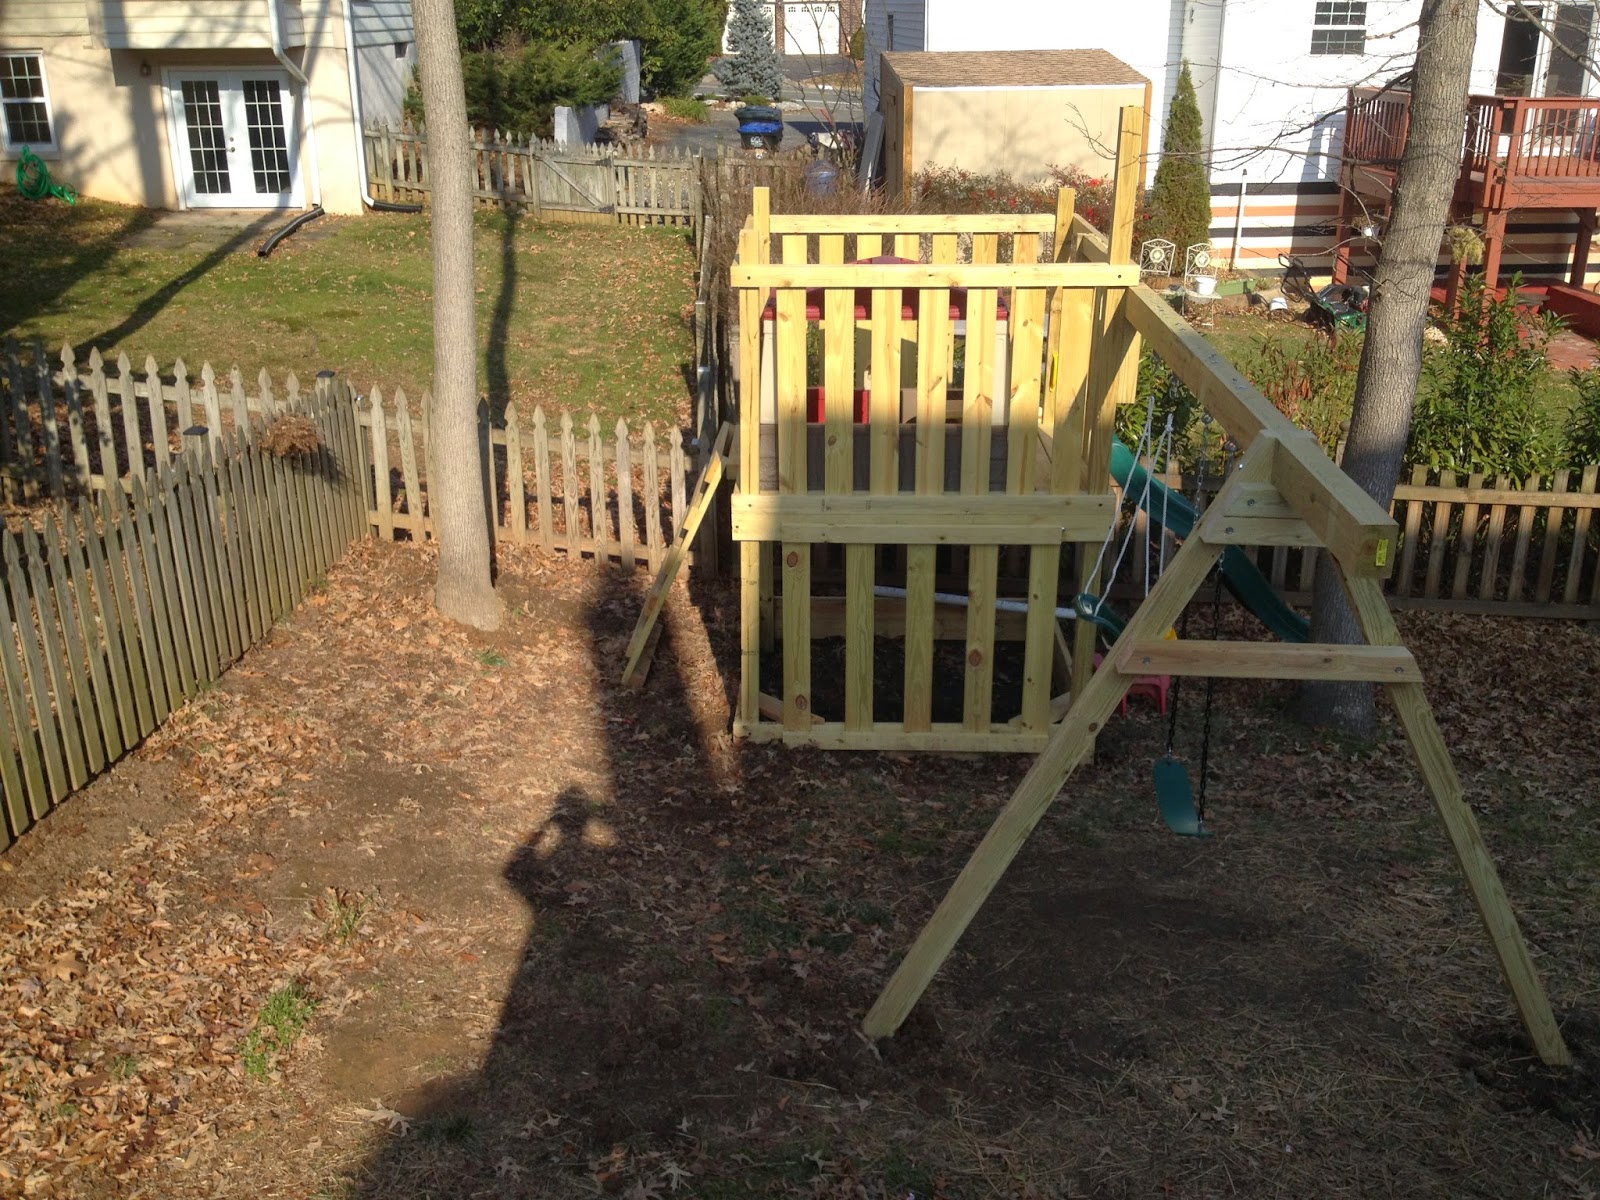
There are a lot of recommendations regarding the placement of swings in relation to fences. I decided to follow the 2x the length of the swing policy. This dictated where I placed the entire playground originally but I could have shortened the swing. Ultimately, the playground area is twice the length of the swing on both sides.
I mounted the swing hardware with carriage bolts through the 4x6 and attached the swings. For the cross member support, I used the steel frame
 to ensure safety.

I used my Werner ladder and Irwin clamps to hold the cross member in place after leveling.

Then I could add the support 4x4s with the simple angle cut.

I wanted to hide the A-frame a bit so I used pieces of 4x4 to go under the 4x6 joist. I used foot long landscape nails to anchor the support beams into the ground.

With the swing hardware mounted, we are almost done!

I drilled a 3 inch PVC pipe to make a drain for the sandbox.
All that is left is to add sand to the sandbox and the protective support material and accessories. We will do that in the next post.
-Chris
No comments:
Post a Comment